The build has started! My parcel of parts turned up on Friday (most of them anyway, still awaiting the motors and props – more on that later). I got home all ready and excited to start my build and just as I finish making the obligatory cup of tea (I am British after all!), the power failed.
It was probably the worst I have seen the rain, even given the severity of it over the winter. I have been most fortunate with the weather that has lashed the UK and have not suffered any flooding. My thoughts are out there all who are suffering from flooding and extended power failure.
The power ended up being out for about 2 hours, however so eager was I to start I broke out the candles and a torch. Like some weird Victorian/Post Modern movie I worked on the frame in candle light, using the torch when I needed a bit more light.
So what about the frame? Well firstly I want to say it costs about £15 so I will be gentle. Beginning with the negatives – the finish of the plastic is a little rough with sharp edges from the injection moulding process. The legs have moulded in nuts, some of them are a little deep and the plastic partly overs the openings. That meant getting the screws in was harder than it needed to be. One of the nuts actually had plastic inside it which I was able to pry out with some tweezers. Lastly the instructions (well the sheet of A4) was completely written in Chinese. It does have an exploded picture of how it all goes together so it isn’t a complete issue, but on the list of parts it lists one more thing than I have and I have no idea what it says.
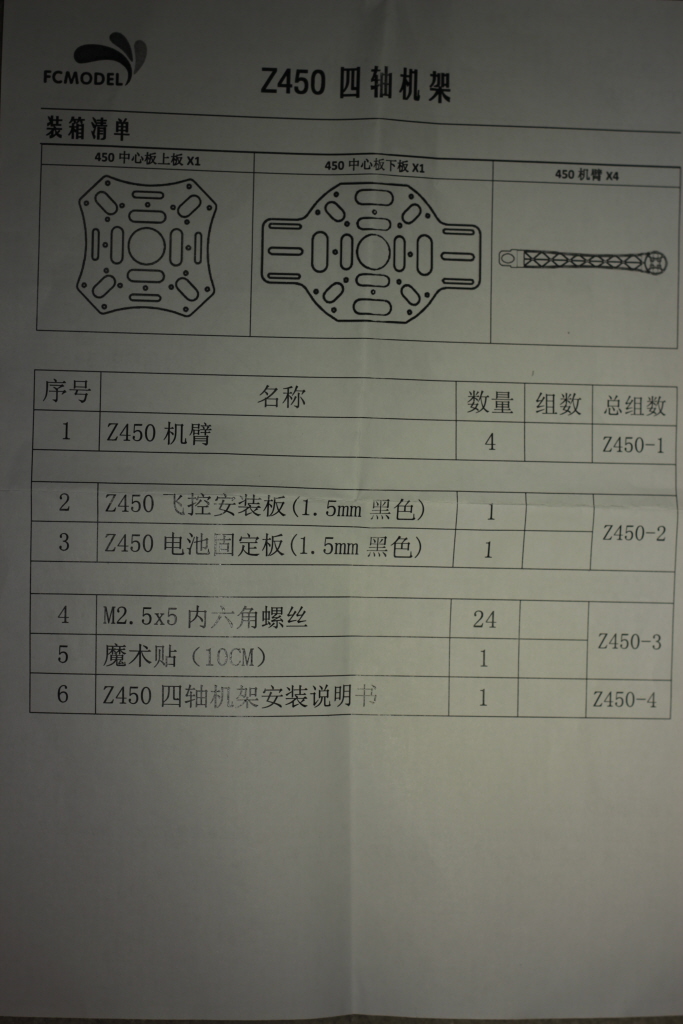
Helpful…
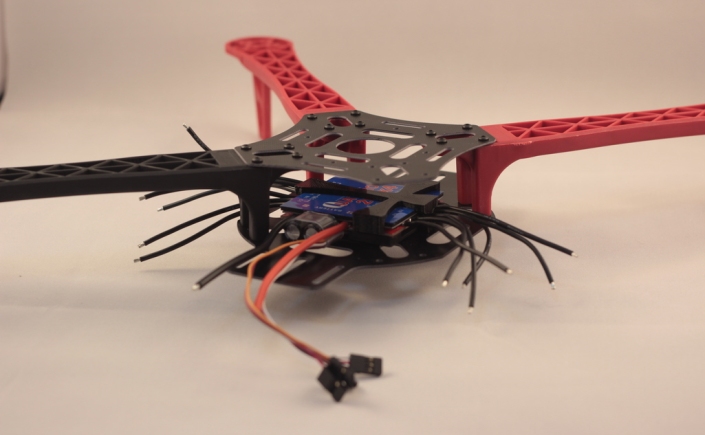
On the more positive: it went together very well once the plastic/nut issues had been resolved. After it had been put together the whole thing is very ridged and only small amounts of flex can be seen when pushing the central hub down. Overall it looks great.
Mounting the ESC (which has 4 ESC’s built in) proved more interesting. The ESC has no mounting points on it. I had thought initially to use zip ties to hold it down, functional but not the best solution. Looking at the controller when held onto the lower plate, I noticed that there it didn’t cover a couple of mounting holes. Hmmm. Can I use them some how? Annoyingly the controller has cables coming out of all but one side. It then occurred to me that I could make a clamp that would go over the ESC. It would be able to go down the sides to take advantage of the mounting holes in the plate. So in SketchUP I made a clamp/retainer for the ESC – which you can find on YouMagine.
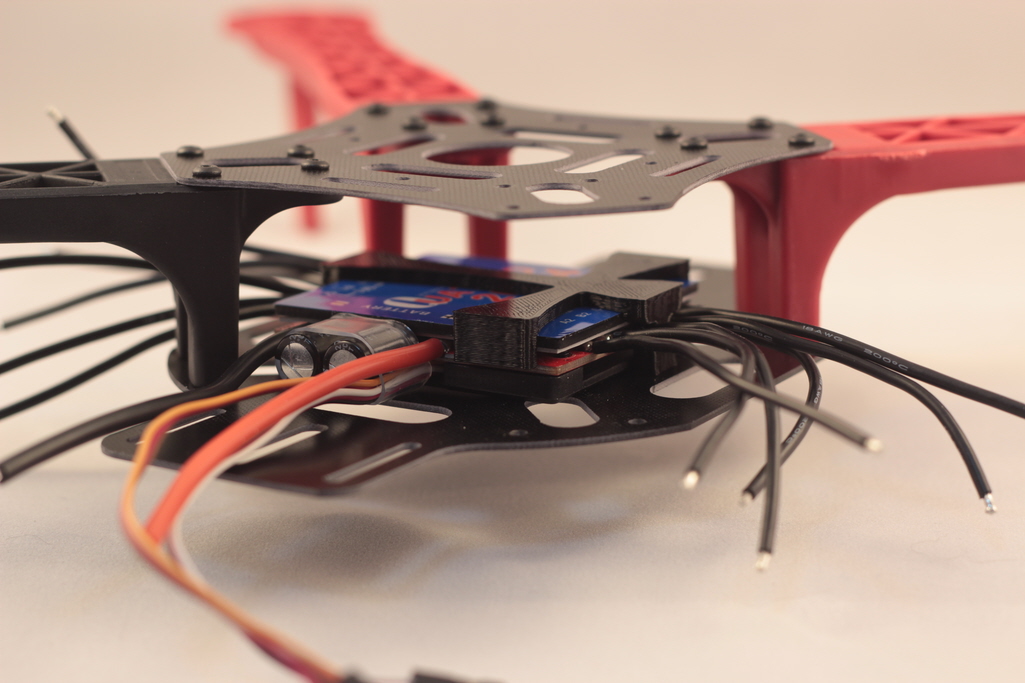
Close up of the ESC and clamp in place.
Well that is as far as I have got so far, more to come!
